Official Guide / Initial setup
Shadowrocket Quick Start
Go from adding a server to verifying routing. Follow the steps in order and confirm each result before continuing.
Step 01 / Prepare server details
Add a server or import a subscription
Open Shadowrocket and go to Home at the bottom. First, identify the details you have: a subscription link usually provides a group of servers, while details for a single server list its protocol, address, port, and authentication parameters separately. Choose either method; you do not need to add a server manually and then import the same group again by subscription.
Add a server manually: choose Type, then fill in the fields
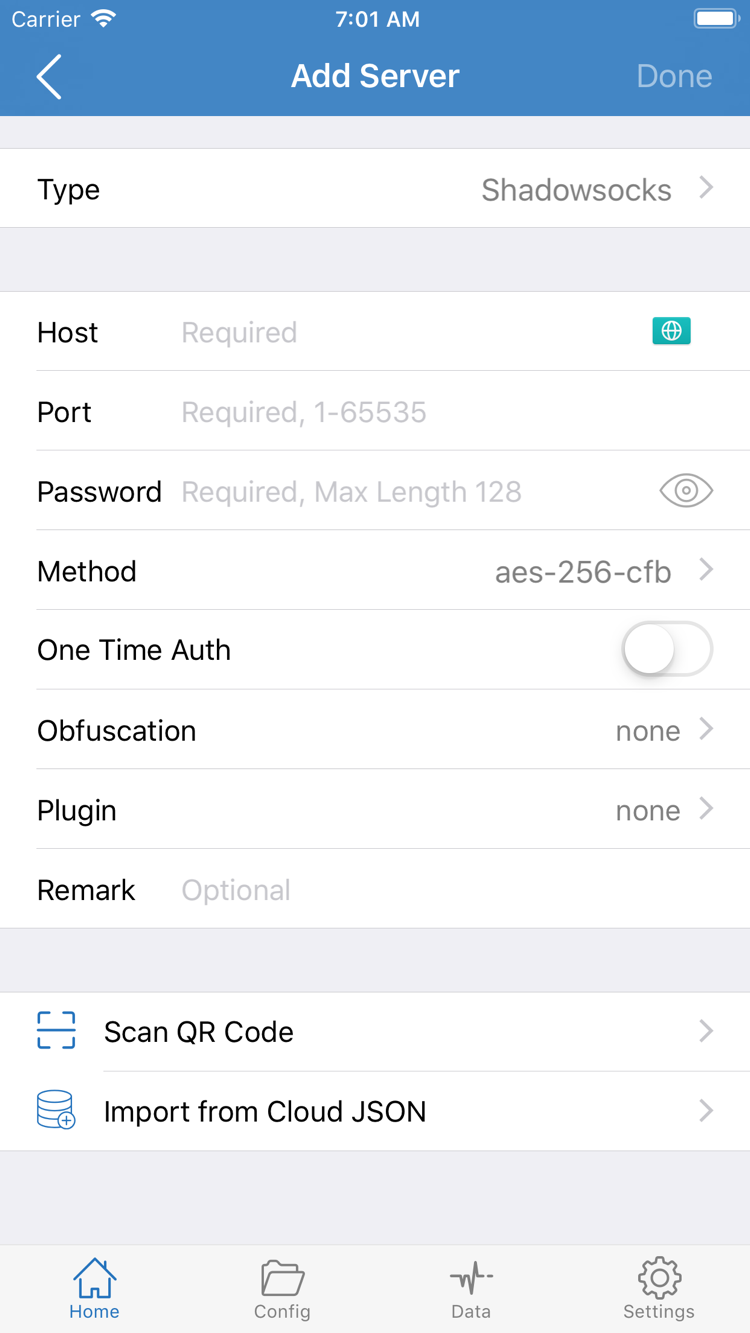
Tap the plus sign at the top right of Home to open Add Server. Choose the protocol specified in your details under Type. The fields shown next depend on the protocol. For example, with Shadowsocks, enter the server domain or IP address in Host and the port in Port; then enter the Password and choose the method specified by your service provider under Method. Enter the address and port separately. Do not paste a URL prefix, path, or port into Host. After copying the parameters, check for extra spaces or line breaks at either end.
After confirming that each field matches the original details, save and return to Home. Check whether the entry appears under SERVER. If you only have an address and port but do not know the Type or authentication parameters, ask your service provider to confirm them; do not fill in missing fields using examples for another protocol. The screenshot on the right shows Scan QR Code and Import from Cloud JSON as other import options. You do not need to use them when entering details manually.
Import by subscription: check SERVER after saving
If you have a subscription link, tap the plus sign from Home, choose Subscribe under Type in Add Server, paste the complete link into the URL field, and save. Keep the original path and query parameters; do not substitute your service provider’s login page address. Return to Home and wait for the subscription to load, then find its group under SERVER and check for entries. A subscription link may contain access credentials. Do not share it publicly in screenshots or logs.
Once a selectable server appears, continue to Global Routing. If you see a group name but no servers inside it, resolve the import issue first; repeatedly toggling the connection switch will not populate an empty group.
Step 02 / Choose how traffic is handled
Choose a Global Routing mode
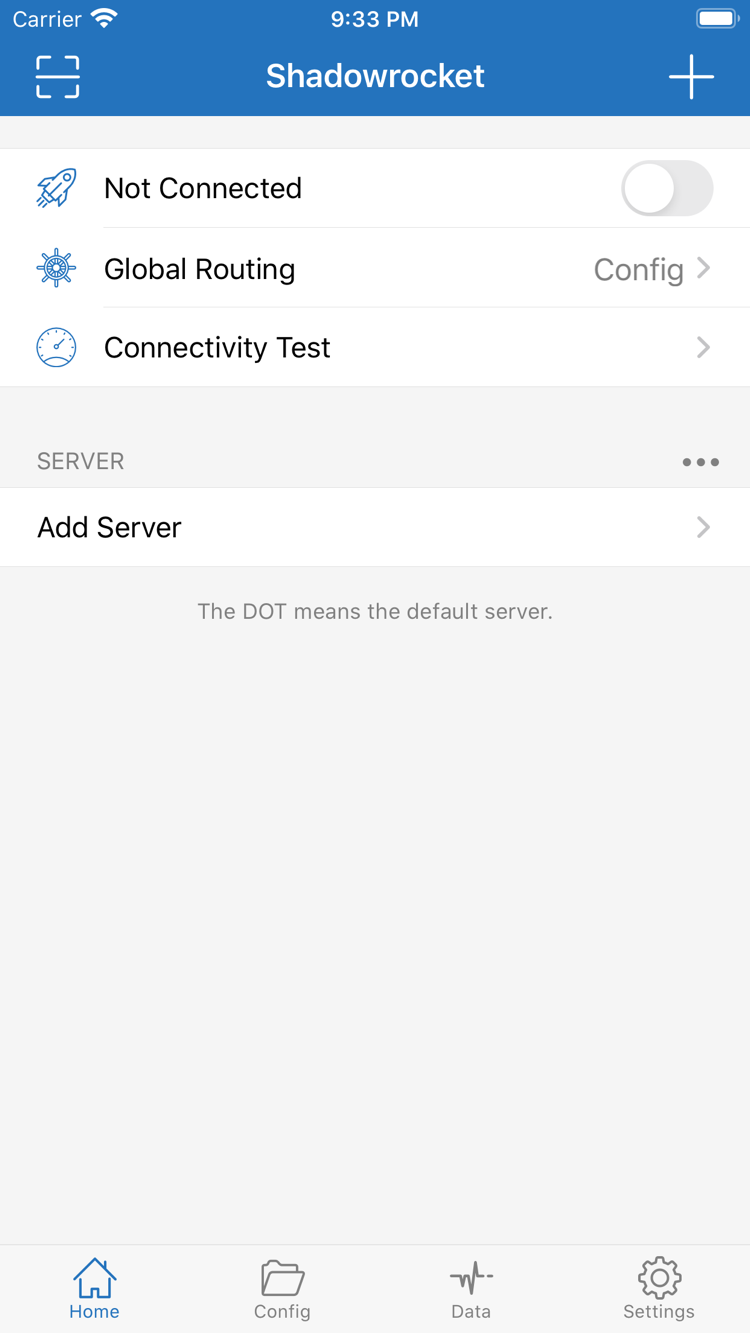
Tap Global Routing on Home. This controls how traffic is handled after the client takes over a connection. It does not add servers or replace the entry selected under SERVER. For different destinations to use the proxy or connect directly according to rules, choose Config for everyday use and confirm that the selected configuration file is the one you expect.
- Config: Choose a policy according to the rules in the current configuration file. Different destinations can use the proxy or connect directly; requests do not all have to use the same route.
- Proxy: Send traffic handled by the client through the proxy. You can switch to this mode briefly during initial troubleshooting to check whether the selected server can reach a test destination, then switch back to the original mode.
- Direct: Connect traffic handled by the client directly, without using the selected proxy server. This is useful for comparison, but does not turn off the connection switch on Home.
Check the current file before using Config
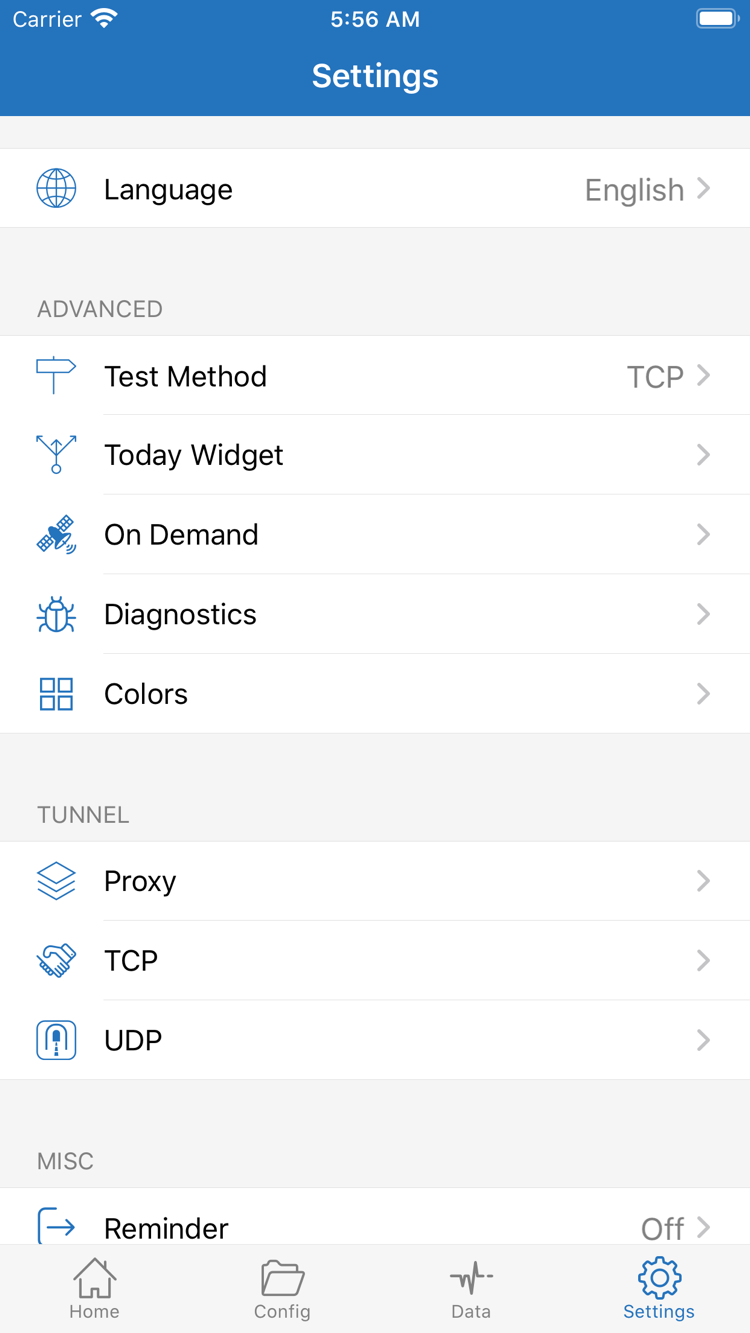
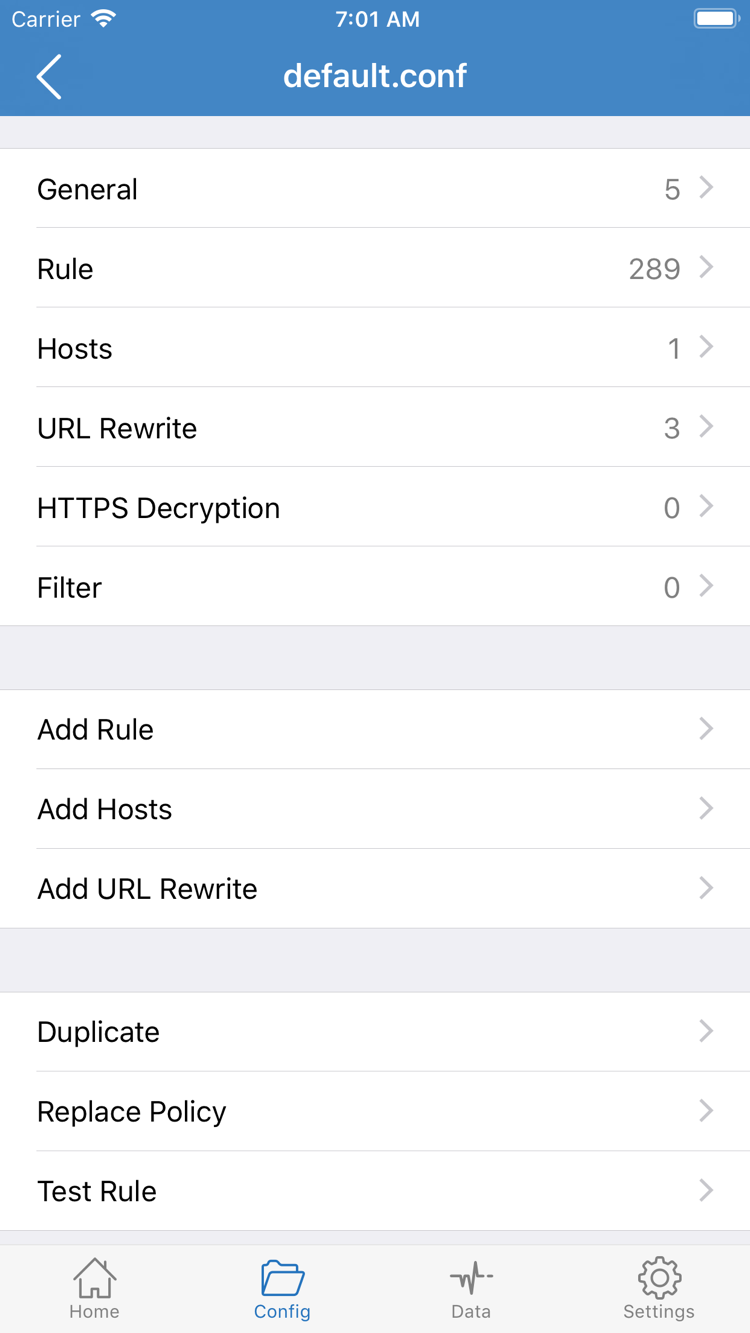
Config under Global Routing is a mode; the Config tab at the bottom is where configuration files are managed. After choosing Config mode, open Config at the bottom and check which file is currently enabled. The editor shows sections such as General, Rule, and Hosts. For an initial connection, just confirm that you are viewing the current file, then check Rule to see which policy should apply to the destination you want to test. There is no need to tap Add Rule and change rules temporarily.
Avoid changing rules and switching servers at the same time during initial verification. If a destination becomes reachable after two changes, it will be difficult to tell which one helped. After choosing a mode, return to Home and confirm that Global Routing shows the value you selected before turning on the connection.
Step 03 / Establish a connection
Turn on the connection switch on Home
Return to Home and tap the server you just added under SERVER. If you imported a subscription, open its group first, then choose a specific entry. Seeing a server in the list does not mean that the one you want to test is selected. Note the entry name before proceeding so you can test the same entry again if an issue occurs.
Tap the switch beside Not Connected at the top of Home. On the first connection, the system may ask for permission to let Shadowrocket add a VPN configuration. Confirm that Shadowrocket initiated the request after you tapped the switch, then allow it. If the system asks you to verify your device identity, follow the on-device instructions. This allows the system to let the client establish a connection; you do not need to enter a subscription link or server password in the system prompt.
After verification, return to Home and wait for the status to update. When the top status changes from Not Connected to Connected, check that Global Routing is still set to the mode you chose in step two. If another VPN is already active, disconnect it in its app before trying Shadowrocket again, so you do not mistake the other connection’s status for this test result. Do not delete existing VPN configurations from the device just to test.
If you previously denied the request, return to Home and turn on the switch again to see whether the system prompts you. If the switch immediately turns off, do not keep tapping it. Note whether a prompt appeared, whether permission was granted, and whether the switch turned off before or after you selected a server, then use step five to find the cause. Even when Connected appears, that only confirms that the client established a connection. Check server availability and routing for specific destinations separately in the next step.
Step 04 / Check access in practice
Cross-check with Connectivity Test and real requests
Keep the same network, server, and Global Routing mode as in step three. Tap Connectivity Test on Home, wait for the result, and check that it corresponds to the server you selected. A result means the entry responded using the current test method; it does not mean every website will be reachable. Conversely, a single timeout does not necessarily mean the connection is down; the test destination may not have responded.
Choose test destinations based on the current mode
If Config is selected, use a browser to open two familiar destinations: one that should use the proxy under the current rules and one that should connect directly. Check which domain the rules actually match. A page may request content from other domains, so loading the page does not mean all its requests use the same policy. Reload the page to avoid mistaking cached content for the result of a new connection. To check whether the proxy can reach a particular destination, keep the same server, briefly switch to Proxy and try again, then switch back to Config.
If Direct is selected, the result only shows whether the destination is reachable over a direct connection; it does not confirm that the proxy works. After testing, return to Home and check that the switch and mode match your everyday needs. If Connectivity Test responds and the destination is accessible, but you still cannot tell which rule matched, see the rules and connection verification sections in the user guide. You do not need to recreate the subscription.
Step 05 / Find where the failure occurs
Troubleshoot common connection issues by symptom
No entries under SERVER: check the import first
If a subscription group is empty, first check that the link was pasted in full and that Subscribe was selected under Type, then confirm that the device has an internet connection. If the link is current but refreshing still shows no entries, ask your service provider to confirm that the link is valid and that its contents are compatible with the client. If a manually added server is missing, return to Add Server and check that all required fields are complete and that you saved the entry. Check the connection mode only after a specific server appears.
The switch turns off or reconnects automatically: check permissions and on-demand behavior
If you did not complete the system VPN configuration prompt, start another connection from Home. If VPN permission was granted but the connection starts again after you disconnect manually, check whether On Demand is enabled in Settings. To test with manual control only, note the original setting, temporarily turn off On Demand, then retry from Home. Restore the original setting when troubleshooting is complete if needed.
Connected, but the test fails: narrow down the failure
First confirm that ordinary internet access works, then check the selected server and current mode on Home. If only Connectivity Test times out while actual browsing works, check Test Method in Settings; results from different test methods are not directly comparable. If both the test and actual browsing fail, try another server you already have, if available, using the same mode and destination. Change one thing at a time to see whether the issue affects one entry or persists with another.
If only one destination is unreachable, and it works with the same server in Proxy but not in Config, first check the current configuration file and the matching order in Rule. If the problem continues, check Diagnostics in Settings and compare the results with the time and symptoms you recorded. For more detailed checks on permissions, imports, and routing, see troubleshooting.